configure jadclipse in eclipse platform
Java Decompiler
extract the zipfile to verify the files 'net.sf.jadclipse_3.3.0.jar' and 'jad.exe' are present.
copy the net.sf.hadclipse_3.3.0.jar to the working copy of your eclipse plugin folder.
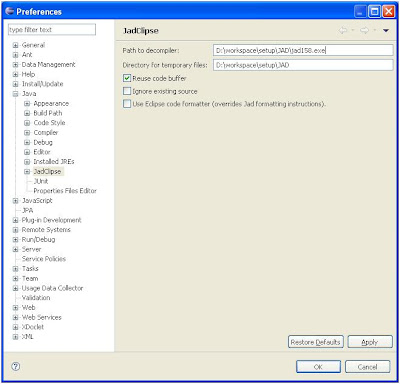
open your eclipse goto Window->Preferences,Expand the Java Tab,now you will see the JadClipse option.
click on the 'JadClipse' option tab,you may find two fields.set the values as below.
1. Path to decompiler to your jad executable location
(eg D:\workspace\setup\JAD\jad158.exe).
2. Directory for temporary files to any desired folder(eg
D:\workspace\setup\JAD).
Click Apply,Ok and Restart your Eclipse,done !!!
Now press F3 button on the class to view the source for that class.
Configure JUnit
Download the junit-4.10.jar file from the location and add this file in the java build path on the Eclipse Project where we want to configure the Junit.

After you configured the build path,restart your workspace and you will see an option like below to run the JUnit test cases.

For Creating method stubs you need to right click on the respective Java File ,New-JUnit Test Case.Give a name with a suffix 'test' preferably,click 'Next' , you can see a list of methods in the actual class select the checkbox for corresponding methods you want to create stubs and click 'Finish'.

Comments
Post a Comment